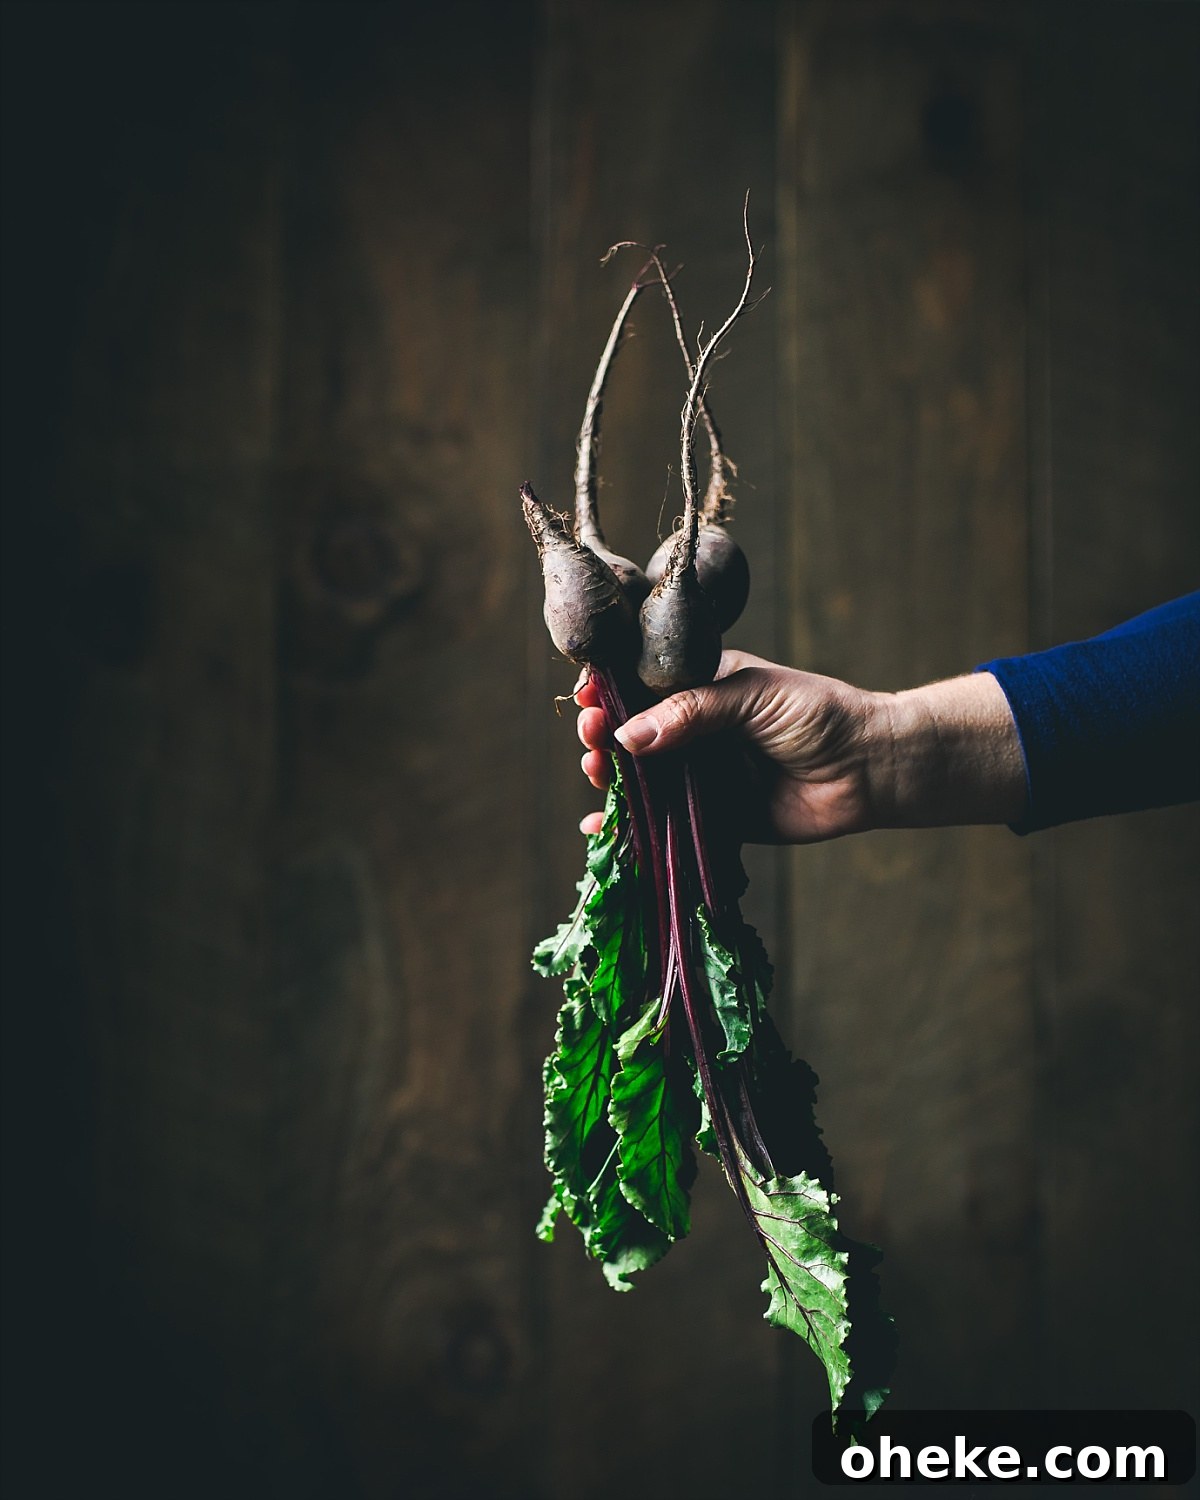
Here’s a fun fact about me: before hosting The Storied Recipe Podcast and focusing on food photography, I spent nearly nine years as a wedding photographer. In those high-energy, fast-paced shoots I had to enter a room and immediately decide how to use the available light to create beautiful, emotional photographs. Over time I developed a simple, reliable method for finding ideal natural light for food photography every time.
First, turn off all the lights in the room
The first rule is to eliminate mixed light. Different light sources—incandescent bulbs, fluorescent fixtures, candles, and daylight—each have a different color temperature. Mixing those temperatures in a single photo makes it almost impossible to capture accurate colors. So step one for achieving perfect natural lighting for food photos is to turn off the artificial lights and rely on natural light.
Turning off the lights also gives you control over the direction of the light. Fixed overhead lights are hard to shape or direct and often flatten the scene. Don’t be afraid of a dim room: modern DSLRs and even phone cameras handle low light far better than most people expect. And remember, a room that looks dark to your eyes doesn’t necessarily mean your subject will be dark in the photo—directional natural light can create luminous highlights and soft shadows that bring a scene to life.
Once you start seeing the difference that natural light makes, you’ll notice how much more atmospheric and inviting your home and food look with the lights off. Good natural light feels almost magical.
Next, the only tool you need is your hand
How to find perfect light using your hand
Place your hand on the surface where you plan to shoot and look for the shadow cast by your hand. The quality of that shadow tells you everything you need to know about the light:
- If you can’t see any shadow, the light is flat. Flat light lacks contrast, and your food will look dull and unappealing.
- If the shadow has a very sharp edge—if you could trace the outline of your hand with a pencil—the light is harsh. Harsh light creates very strong contrast that many cameras can’t record well, and it’s challenging to use unless you’re very experienced.
- If you can see a shadow but its edges are soft and gradually fade away, that’s ideal. Soft, directional natural light produces depth and subtle contrast that both your eye and your camera can capture.
See for yourself:
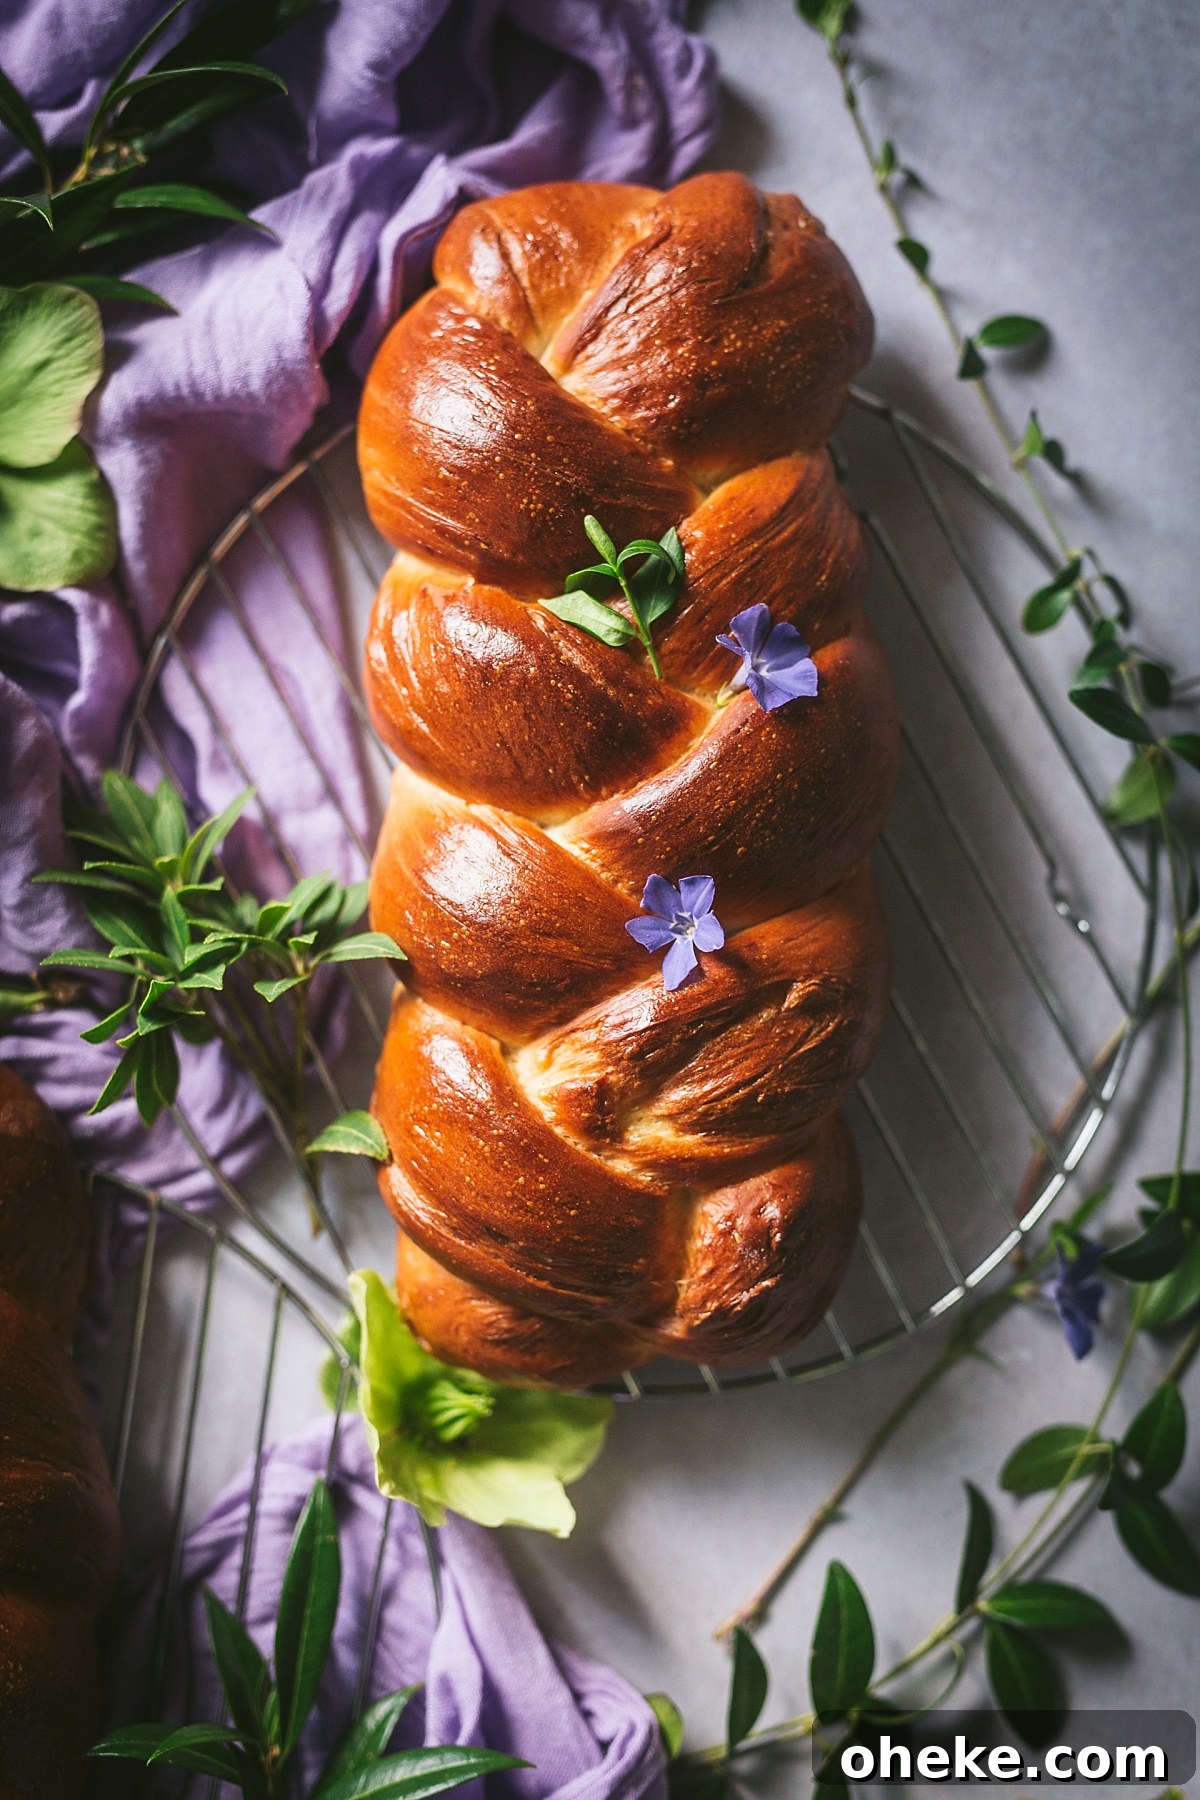
Look at the shadow beside the challah loaf in the image below. You can notice the shadow, but it gently fades instead of stopping abruptly. Examine the little leaves, the vine, and the shadows on the cloth—each area has depth, but the transitions are soft. That kind of light creates dramatic, appealing food photos.
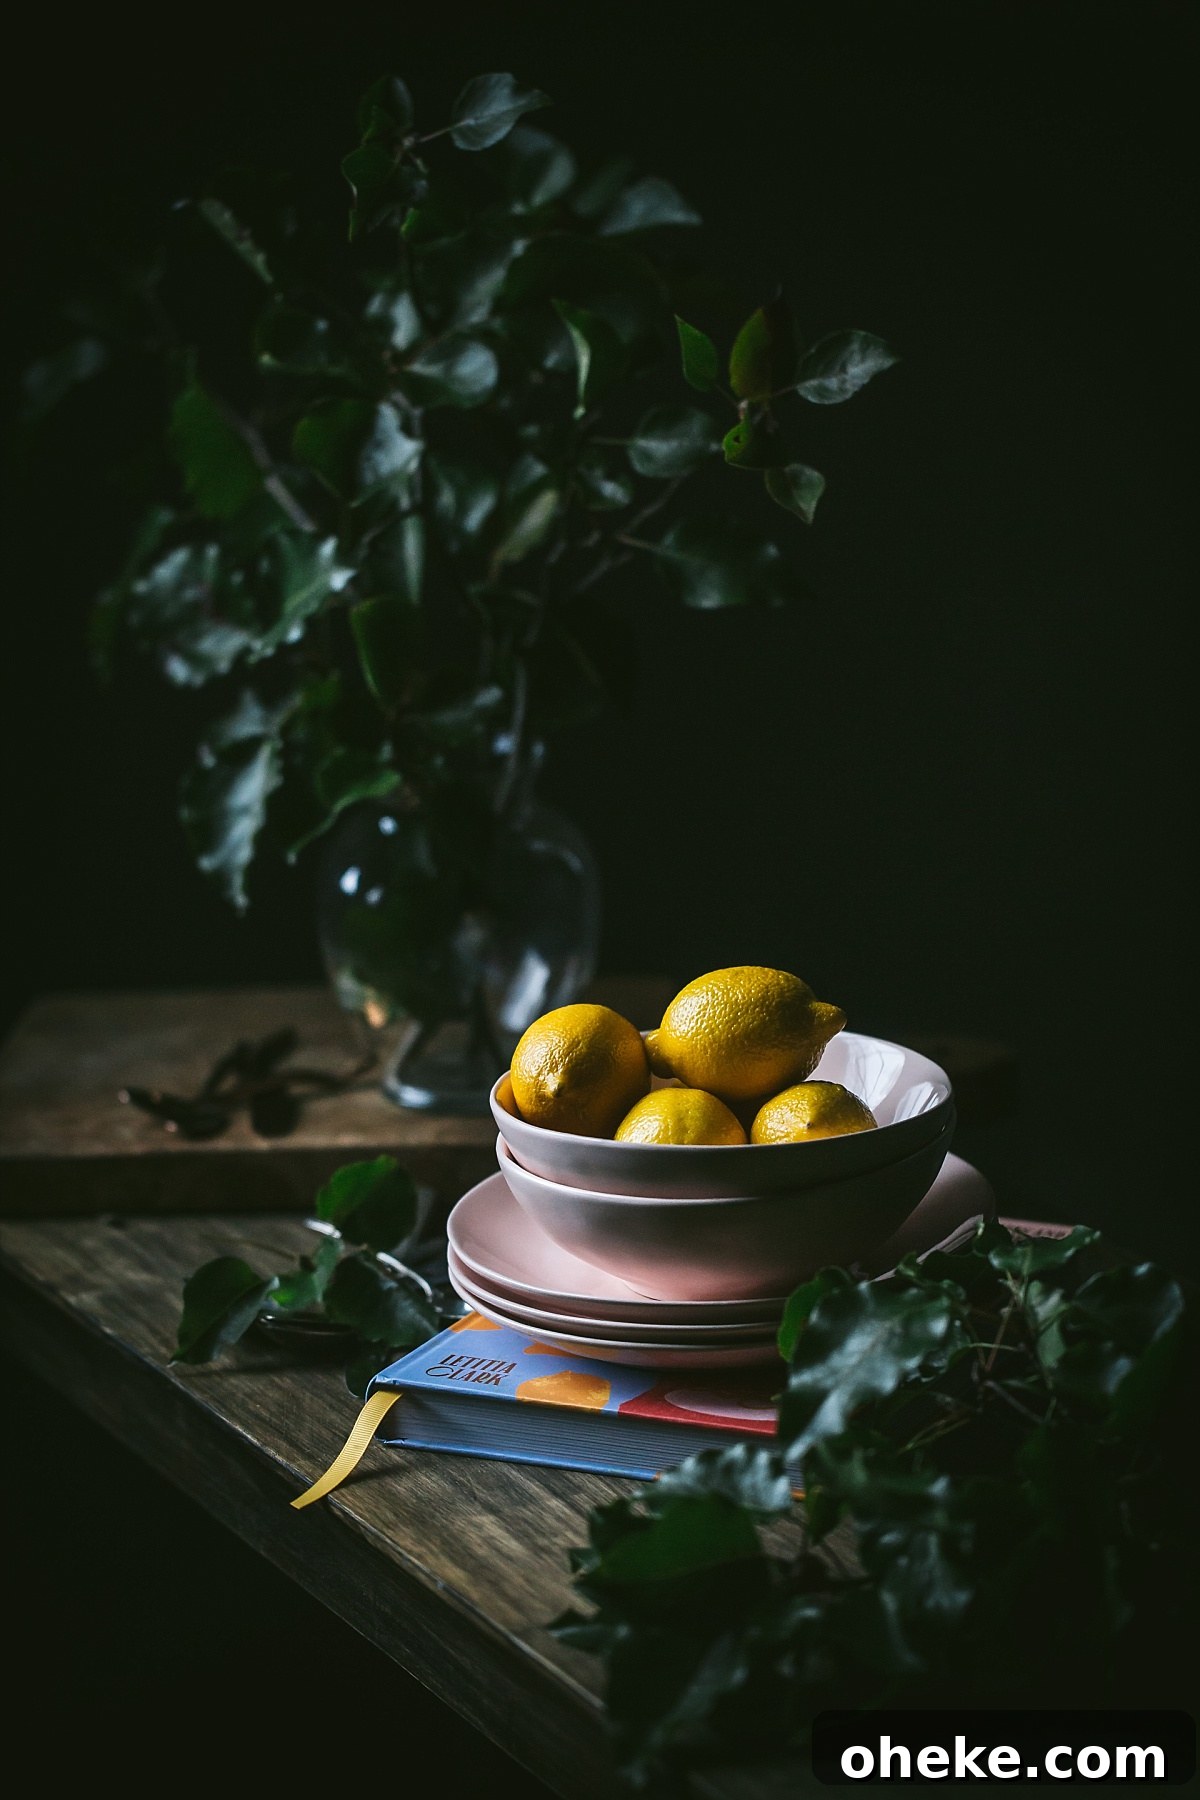
Now look back at the bowl of lemons. Notice the highlight on the top lemon and the shadowed areas behind it. The highlights are bright and the shadows are rich, yet you can’t draw a clean line where one ends and the other begins. Those gradual transitions make the image feel dynamic and three-dimensional.
Why this simple hand trick works
If your hand casts no shadow, the lighting is flat and the image lacks tonal range. A good photograph needs contrast—a range from light to dark—to guide the viewer’s eye to the subject. Without shadows, everything can look the same brightness and the subject won’t stand out.
At the other extreme, very stark shadows reveal too wide a dynamic range for most cameras to capture in a single exposure. Our eyes can adapt to simultaneously perceive bright highlights and deep shadows, but cameras have limited dynamic range. If you expose for bright highlights, the shadows will block up into black; expose for the shadows and the highlights will blow out. Harsh sunlight often produces this problem.
Soft directional light gives you a middle ground: it creates contrast and depth while staying within a dynamic range that your camera can record. The result is an image with pleasing highlights and shadows that still retain detail, which is exactly what you want for food photography.
Where to start looking for good light
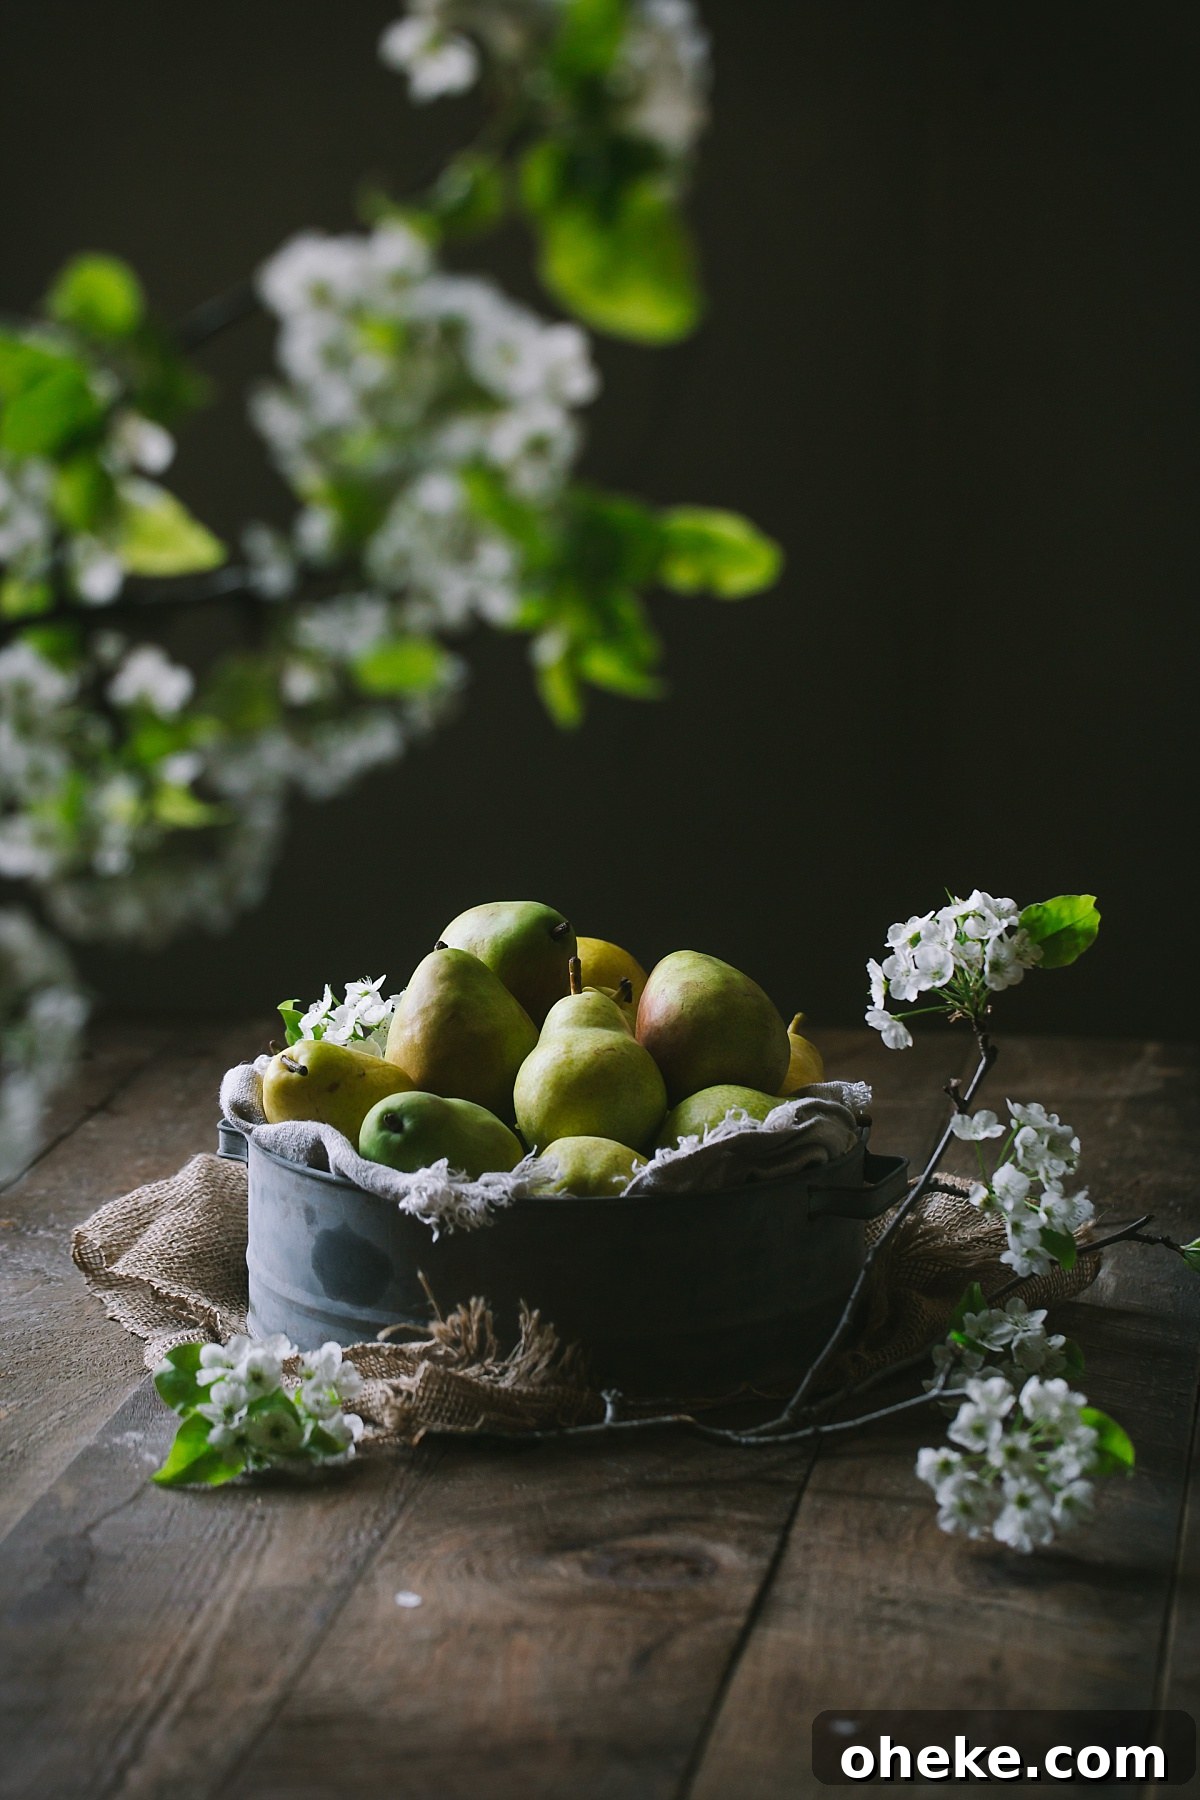
Begin by checking near windows or doors. Generally, you don’t want direct sun streaming into the room; instead look for indirect or diffused light that creates soft shadows. The height and size of the window matter. Test the light at the same height you’ll be shooting from—a tabletop setup needs to be tested at table height, not on the floor. Move around the room and try different surfaces at the same height as your planned shoot until you find that sweet spot where your hand casts a soft, feathered shadow.
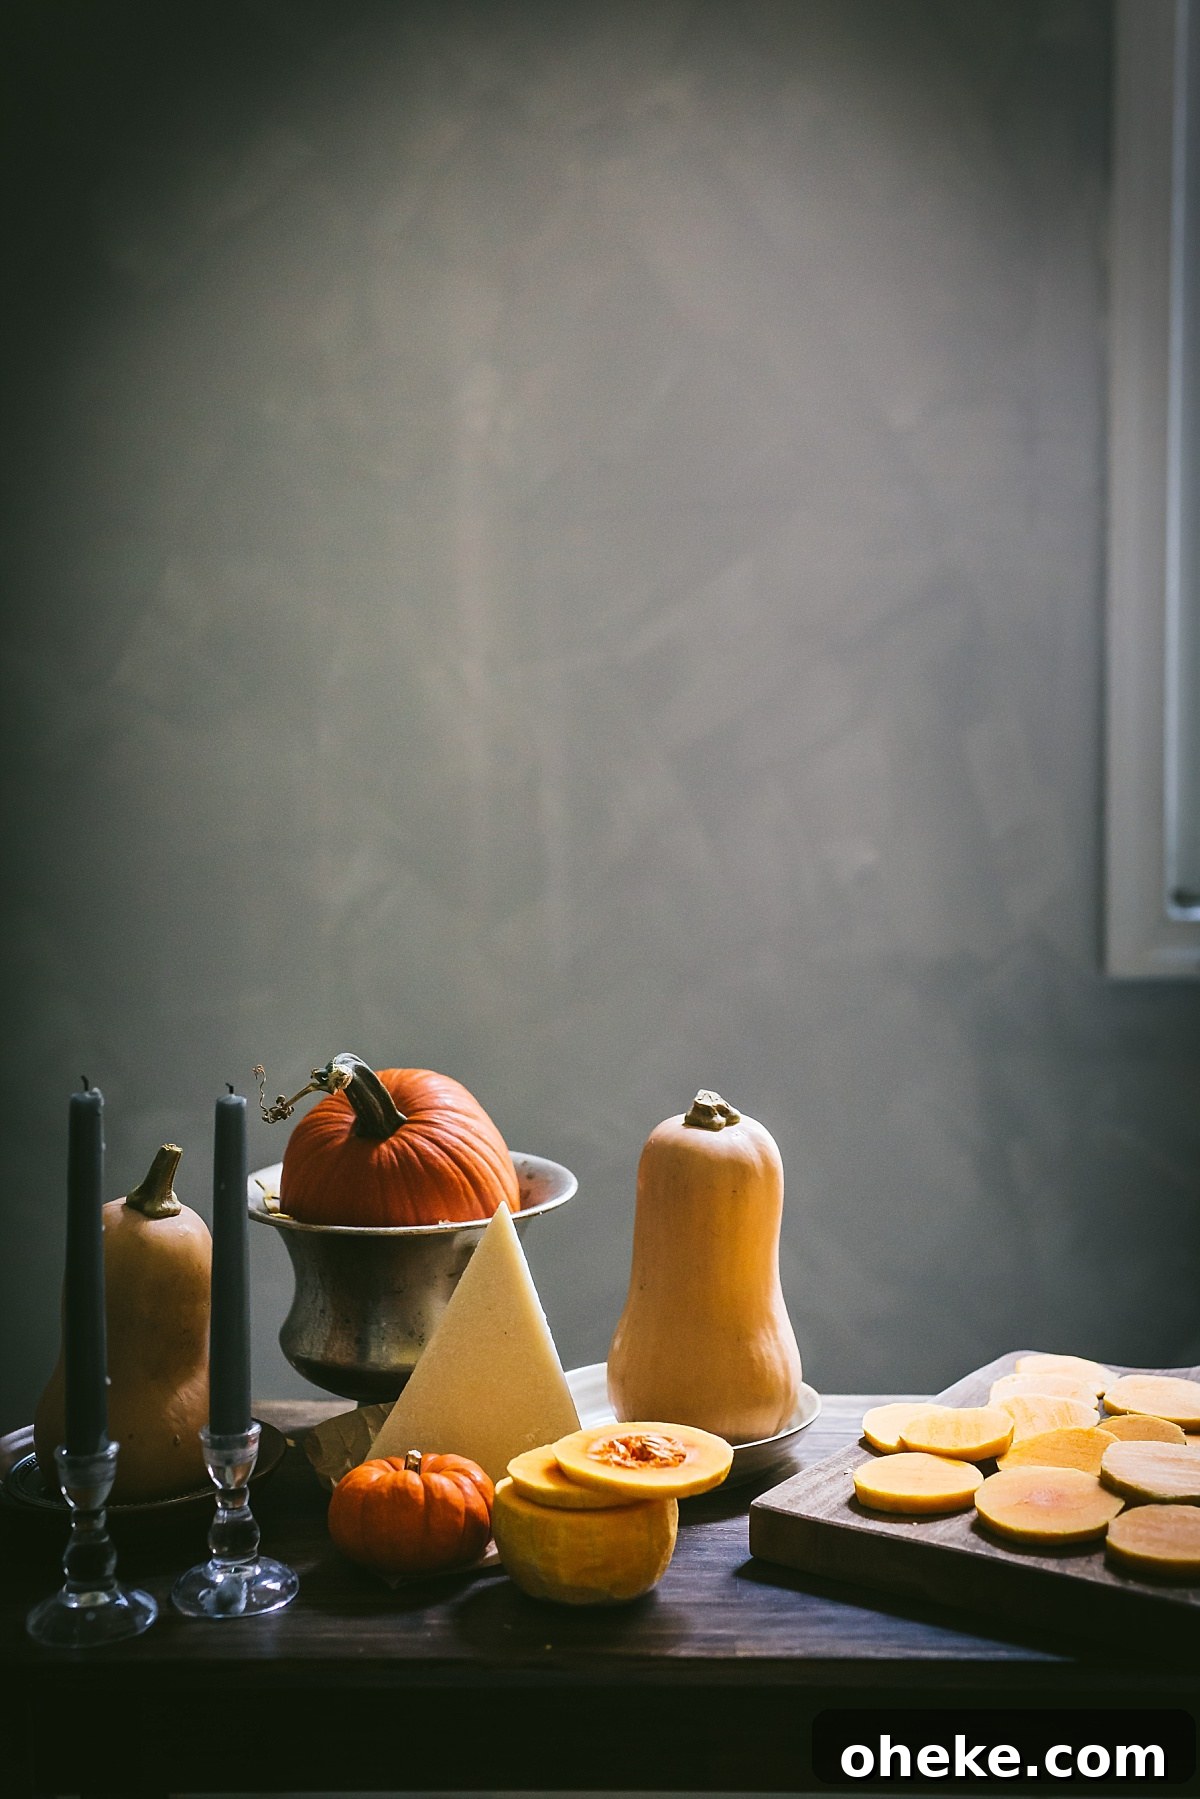
That’s it. This simple, repeatable method—turn off the lights, use your hand to check for a soft shadow, and position your subject near a window or door—is all you need to consistently find beautiful natural light for food photography. If you have questions or want advice about a specific setup, feel free to ask.